In this tutorial, we build a monolith INTEGRITY project for a Qt example application. You can select any Qt example application that uses the supported Qt modules .
Before you can build a monolith INTEGRITY project, you need to prepare your build environment for the
qmake
build tool. You can do this by running the script
~/setEnvironment.sh
that you created in
Creating Script for Running Exports
.
Run the following commands in a terminal:
source ~/setEnvironment.sh
<Qt installation path>/qtbase/bin/qmake <Qt example application path>/<projectname>.pro
make
The
qmake
tool must be called under the Qt installation path (<Qt installation path>), where you installed the Qt sources in
Getting Qt Source Code
.
<Qt example application path>/<projectname>.pro is the installation path of the Qt example application project file that the monolith INTEGRITY project will be built for.
To build a monolith INTEGRITY project, create an empty directory for your project in your home folder. In the steps below, we use the directory name mymonolith .
Launch MULTI Launcher and select File > Create New Project . Define your monolith project with Project Wizard:
注意: The OS Distribution Directory field must contain your INTEGRITY installation directory (in our example, mymonolith ).
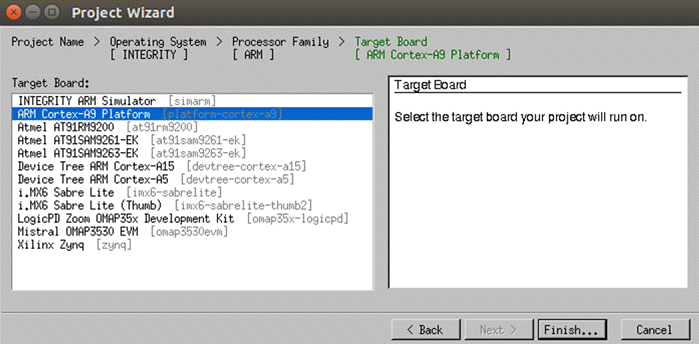
After selecting Finish in Project Wizard, Project Manager is opened.
With Project Manager you can define the settings for the monolith project:
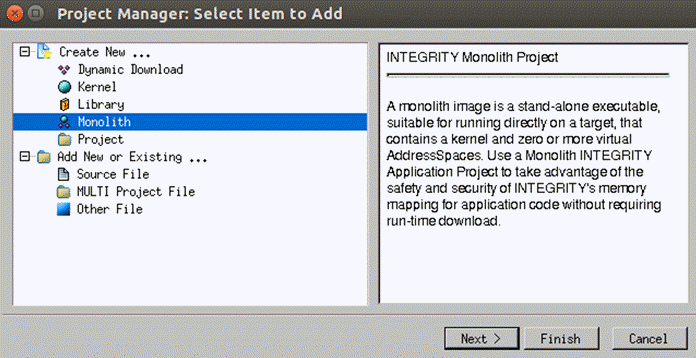
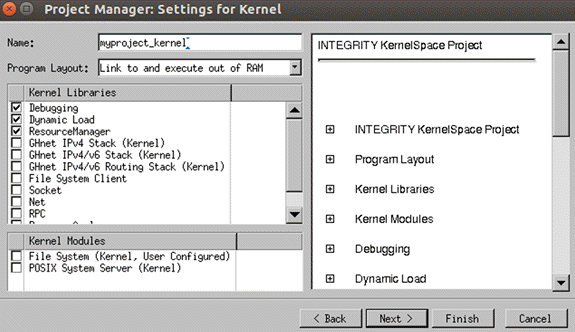
In our example, we have selected MSDOS FAT 从 库 列表。
You need to configure the file system to use the first partition of the micro SD card. In the MULTI Project Manager view, you see a tree structure of your monolith project:
Next, define the virtual address space (VAS) settings for your project.
In the MULTI Project Manager view, you see a tree structure of your monolith project:
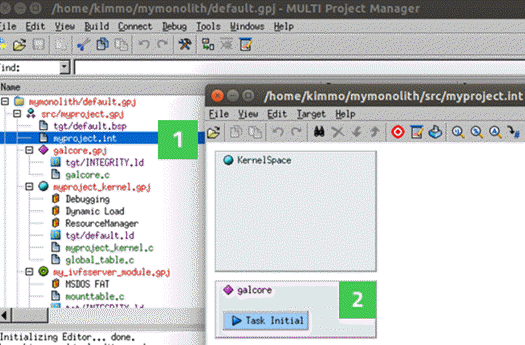
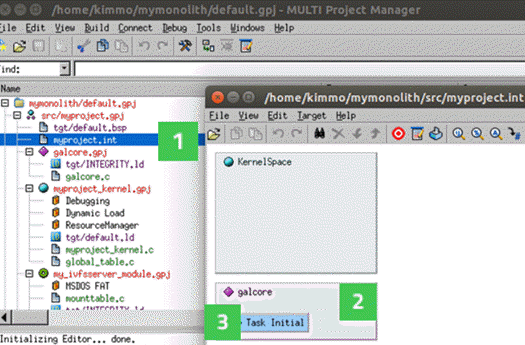
Add the following attribute values for the virtual address space:
| 属性 | 值 |
|---|---|
| Maximum Priority | 255 |
| Maximum Weight | 255 |
| Memory Pool Size | 2000P |
| Heap Size | 0X2000000 |
| Heap Extension Reserved Size | 0x20000 |
| 自变量 | Leave blank. |
| Checkbox | 值 |
| Create Extra Virtual Memory Regions | Select the checkbox. |
You need to edit a number of files in the monolith project.
#include <INTEGRITY.h>
#include <stdlib.h>
#include <stdio.h>
extern Error GalCore_TaskInit(void);
int main(void) {
    Error E;
    E = GalCore_TaskInit();
    if (E != Success) {
        printf("Failed to start GalCore tasks\n");
    }
    Exit(0);
}
Contents of galcore.gpj should be as follows:
#!gbuild
#component integrity_virtual_address_space
[Program]
    -lgalcore
tgt/INTEGRITY.ld
galcore.c
Contents of kernel.gpj should be as follows:
#!gbuild
#component integrity_kernel_monolith
[Program]
    -kernel
    -ldebug
    -lload
    -lres
    -lgalcore-iod
tgt/default.ld
myproject_kernel.c
global_table.c
Contents of monolith.gpj should be as follows:
#!gbuild
#component integrity_monolith
[INTEGRITY Application]
    -non_shared
   -I$__OS_DIR/modules/ghs/ghnet2/source/kernel/integrity/ip4server :sourceDir=$__OS_DIR/modules/ghs/ghnet2/source/kernel/integrity/ip4server
   -L$(__LIBS_DIR_BASE)/Vivante
tgt/default.bsp
myproject.int
galcore.gpj [Program]
myproject_kernel.gpj [Program]
my_ivfsserver_module.gpj [Program]
ip4server_module.gpj [Program]
Add the following lines at the end of the file.
注意: Replace </path/to/your/app/executable> with a path to your application executable.
AddressSpace
    Name    myappname
    Filename    /path/to/your/app/executable
    MemoryPoolSize 0x2000000
    Language    C++
    HeapSize    0x6000000
    Task Initial
        StackSize    0x30000
        StartIt    true
    EndTask
    HeapExtensionReservedSize    0x2000000
EndAddressSpace
打开 monolith.gpj from the tree structure in the MULTI Project Manager view. To build the project:
Your monolith project is now ready to be packaged for U-Boot.